
Fall is here
Better Way to Paint a House
Fall is by far the best time to paint a house in most locations. The cooler, drier weather allows the paint to cure properly and also makes the work more enjoyable rather than suffering through the summer heat or spring showers.
Keeping your house painted is the best way to keep issues like rot or termites at bay and should be a regularly scheduled part of your maintenance every 5-10 years on Atlanta’s climate and the condition of your paint.
If you let a paint job go too long you run the risk of damage to the underlying structure AND increased costs for more involved surface prep. Heavy sanding, scraping and carpentry repairs can be budget busters so keeping your house painted regularly is a time and money saver.
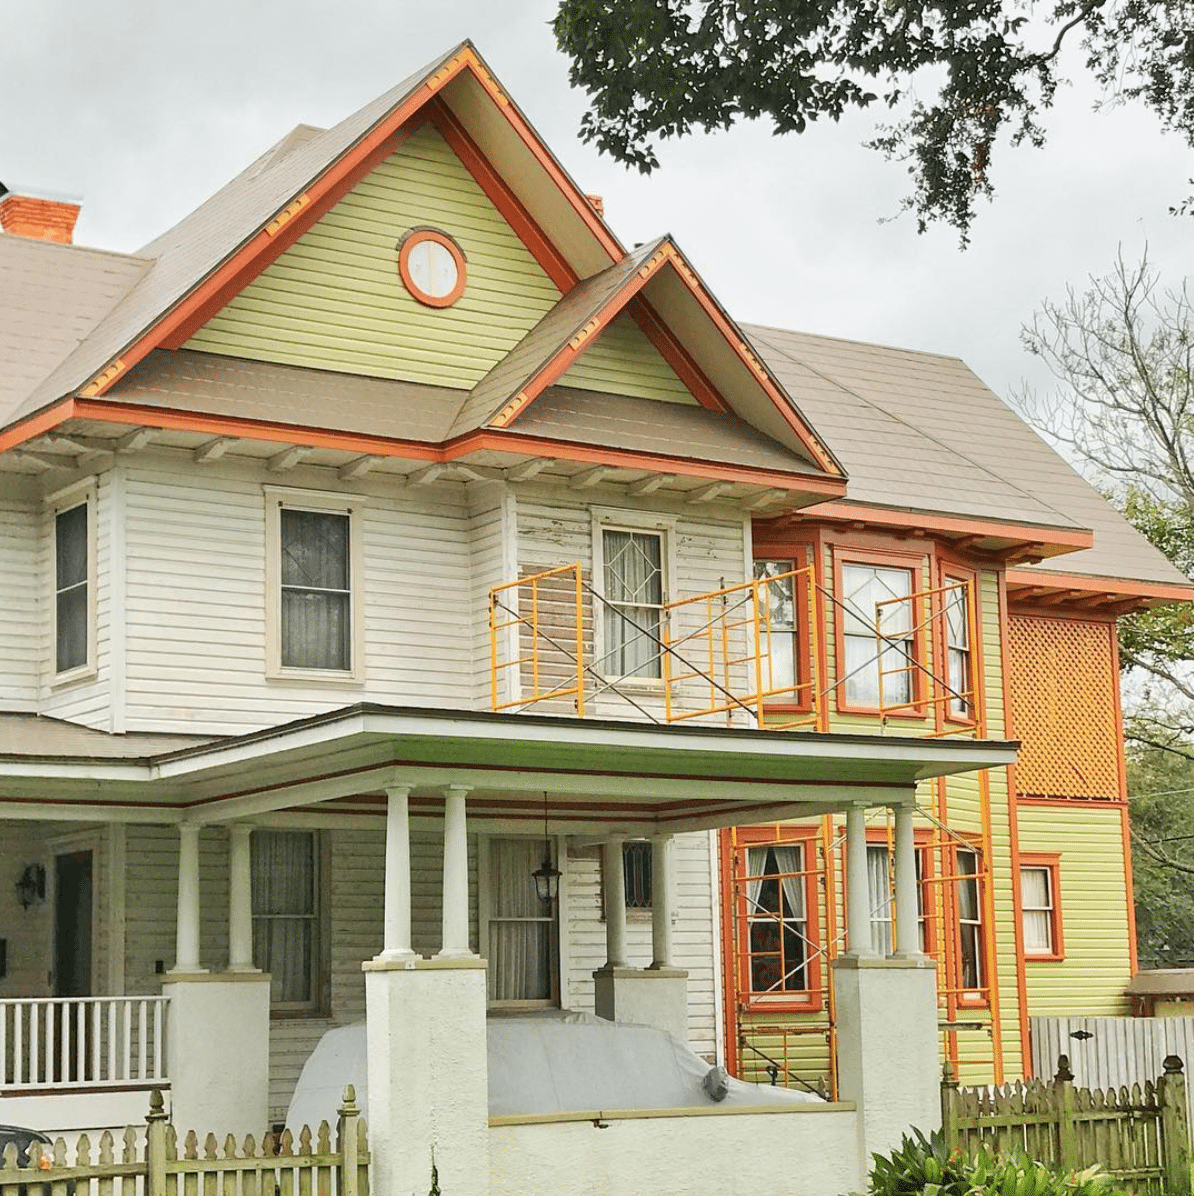
Picking a Color Scheme
Before you do anything you need to start shopping for colors. Today there is an almost endless choice of colors for house paints. I have put together a list, Use Colors for 2018 to help you find the right colors for your house.
While you should start with color swatches nothing beats seeing the color actually on the house. Once you have some ideas of the colors Brook Paining will come to you house and help you with best options and color examples.
Prepping Like a Pro
My Dear Friend Marco was a painter and he always told me “the paint job is in the prep.” Anyone can slap some paint on a wall but only a meticulous person can make it last a couple decades. The secret to a lasting paint job is the proper prep. I’ll go through the steps we use for the best preparation and therefore best looking, longest lasting paint job you can get.
If your house was built before 1978 you’ll first need to test for lead paint. If the test comes out positive then you’ll either need to hire an EPA certified professional who has been properly trained in dealing with lead paint or you’ll need to follow the precautions listed in my post Working Safely With Lead Paint in an Old House.
- Wash – Give your house a good washing. I recommend a good rinsing with a hose end sprayer and a long brush to get the surface thoroughly clean. A pressure washer can cause damage than you think if you not properly trained for. Give the house at least between a day or two days to dry out depending on weather tempeture. Even if the wood isn’t wet to the touch it may still have too high of a moisture content to hold paint.
- Remove Loose Paint – Depending on the condition of your existing paint job this might take 10 minutes or 10 days! Paint is only as good as the surface it adheres to and if you paint over loose or chipping paint it will be a matter of weeks before your new paint job starts to fall apart. Paint adheres best to bare wood so for the best adhesion you should strip all the old paint off using a ProScraper, Speedheater or chemical stripper ; however this will take a lot of time and cost a lot. At the least you want all the loose paint off. Once that’s done you’ll want to sand down the rough edges where the paint chipped off to smooth the transitions out. And keep the remaining paint from peeling further.
- Repair Damaged Wood – Now is the time to repair your rotted wood. Whether it’s replacing a battered clapboard or rotted trim, don’t skip this. Paint will not hold onto rotted or weathered surfaces and you’ll wish you had replaced them when you had the chance. Any grey weathered wood should be sanded until it reveals healthy brown wood again. If the rot damage is small you can use wood fillers or epoxies for nail holes wood filler is fine.
- Caulk & Prime – Before you start caulking everything spot prime any bare wood or filler/epoxy repairs with an oil-based primer. For extra adhesion prime everything including the old paint. While not always necessary it results in a better finished product. Next, make sure to caulk any gaps around siding and trim junctions. My caulking plan is to caulk all vertical joints. Horizontal joints between siding or above and under doors were designed to be left open in most causes in order to accommodate for movement of the wood and to allow water to drain out. For gaps 1/4″ or larger you’ll may need backer rod before caulking to help the caulk bridge the gap.
Applying The Paint
 You’re almost there! If you’ve done all the extensive prep we’ve talked about, your house probably looks like a mottled mess, but that’s all about to change. Here’s just a few tips for the main attraction.
- Buy quality brushes and quality paints. You DO get what you pay for!
- Start your painting from the top and work down to avoid repainting any spills or splatters.
- Try to avoid painting in direct sunlight because it can cause poor adhesion and uneven drying.
- Clean up spills and drips quickly before they dry.
- One coat is enough to protect your house from Mother Nature.
- Follow the manufacturer’s guidelines for drying time between coats and don’t rush re-coating even if it feels dry to the touch. Hurrying the 2nd coat is a sure fire way to get peeling paint that doesn’t adhere.
- Cold or humid weather will slow your drying time so adjust accordingly. If temps are forecast to fall below 50 degrees then it’s best to hold off on painting until you can have temps consistently above that threshold.
There you have it! The right way to paint your house. Don’t settle for a bargain basement paint job because the short term savings inevitably ends with greater long term costs. As with anything, doing work the right way is expensive and time consuming, but in the end very satisfying .
Do it yourself painting is fun but also can be dangerous and challenging remember give a call to Brook Painting Atlanta’s trusted company get a free estimate and go with the best.
![]()
Paint brushes up!